
CMS Publishing
/ Tags: Publishing, Pages
To save changes made to a page, click the blue “save� button:
 Save button
When you've saved your changes and are ready to make a page live, you look for the green publish button:
 Publish button
Left clicking the arrow on the right of the box will provide a way to schedule a publish, submit the post for approval, or to add an expiration to the page.
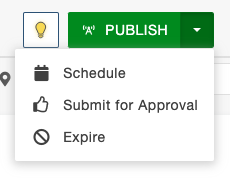 Publish arrow dropdown
Clicking the text, 'Publish' rather than the drop down will bring up this menu:
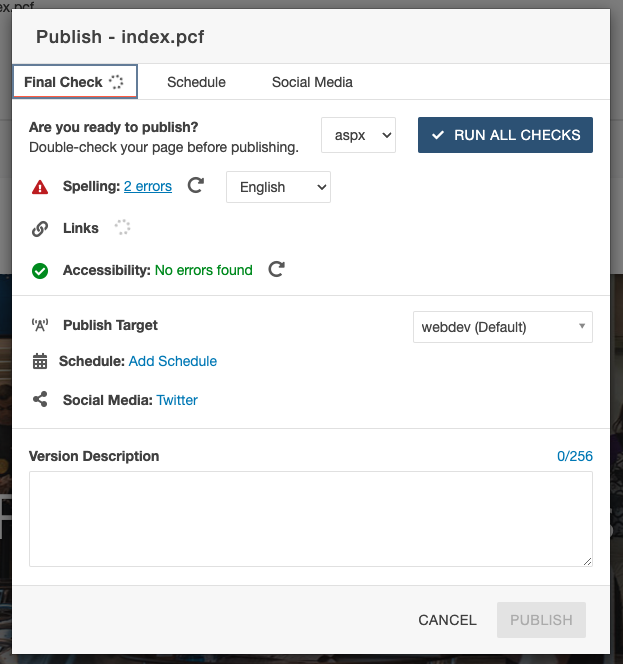 Publish menu
Publish Target
Selecting the Publish Target drop down, you will have two options for targets:
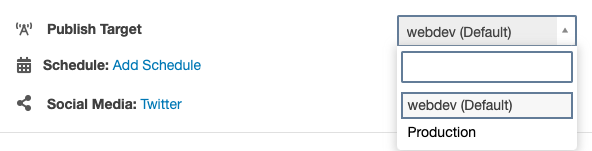 Publish Target dropdown
1. Previewing Environment aka Webdev
This publish target is a testing environment; and you will be able to preview all
your edits without worrying about the public seeing the page. These pages will not
be searchable by Google, but the link can be shared to colleagues if you send the
URL to others.
Example: webdev.fgcu.edu/advancement
2. Production
This publish target is to make a page go live. The public can see this page and Google
can search the page. Make sure to contact us via the if you are publishing a site for the first time.
Example: www.fgcu.edu/advancement
Once you've selected your publish target, click Publish and a URL will appear at the bottom of the screen in which you can click and view your newly published page. Otherwise, switch out the “www� for “webdev� manually for the URL.
Example: webdev.fgcu.edu/advancement
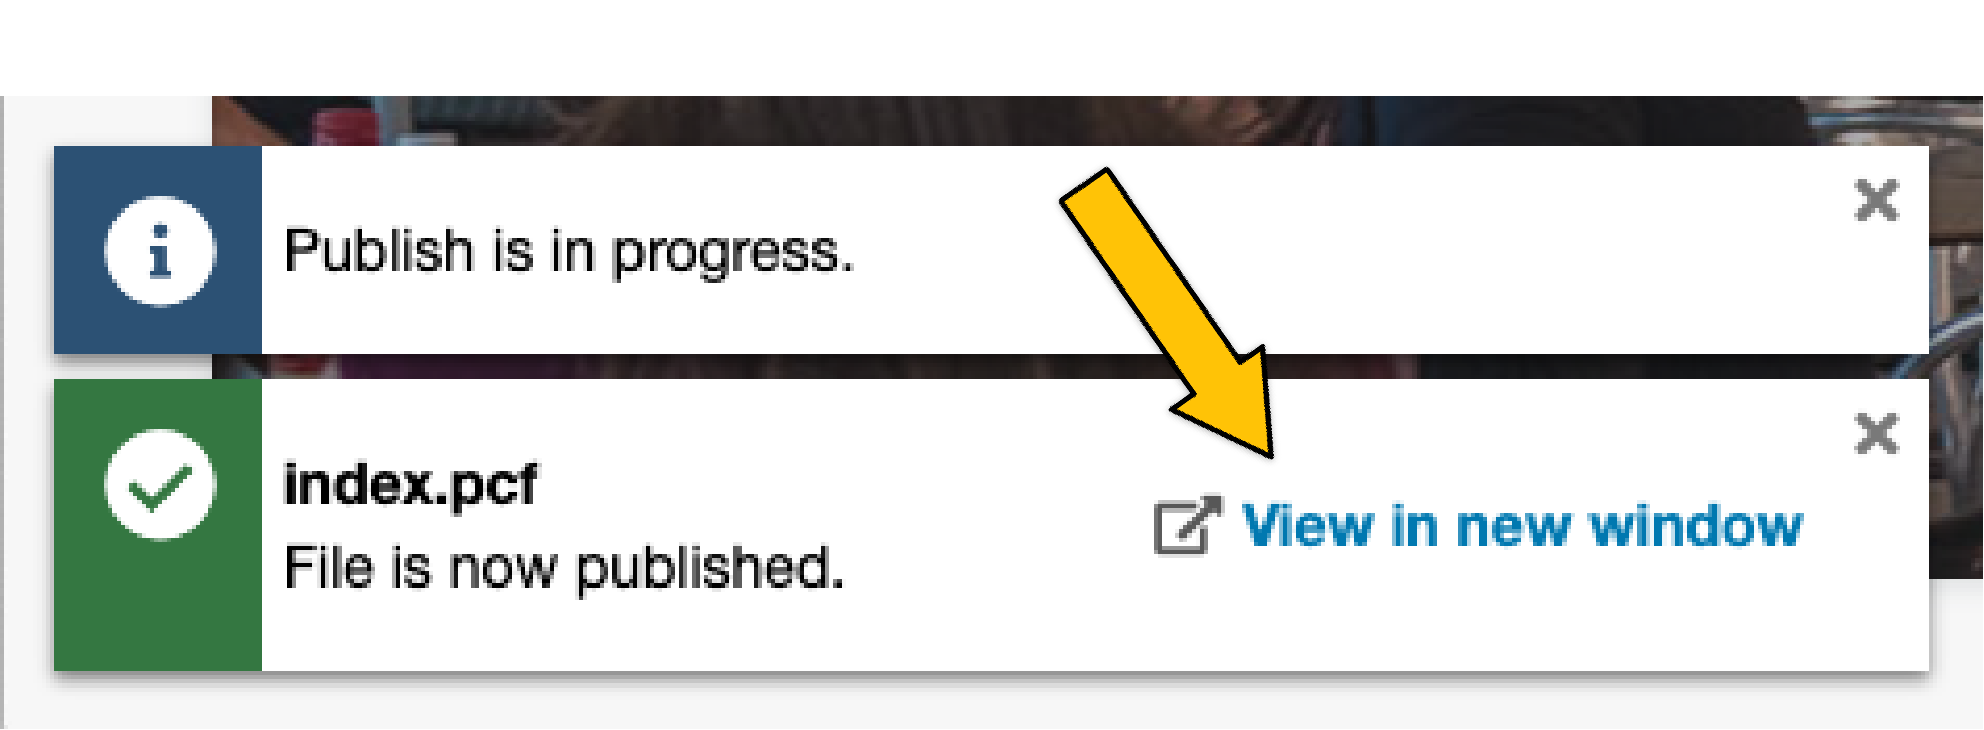 URL at the bottom of the screen in Omni CMS
Unpublishing & Archiving
To remove any existing pages from the Ä¢¹½TV website, the procedure is to archive the page file and unpublish it from production. Since the page removal process can cause broken links on Google search, an extra measure of procedure is required by the web development team. To request page removal, please submit a .
Tag Cloud
Share Post